We are so glad you’ve found Help Hope Live for trusted medical fundraising. Let’s get to know your Campaign Dashboard & Editor!
Last Updated in January 2026
In this guide, you’ll learn how to log in, use your Dashboard, and use your Campaign Editor from your desktop devices. Click the button below to access our Mobile guide instead:
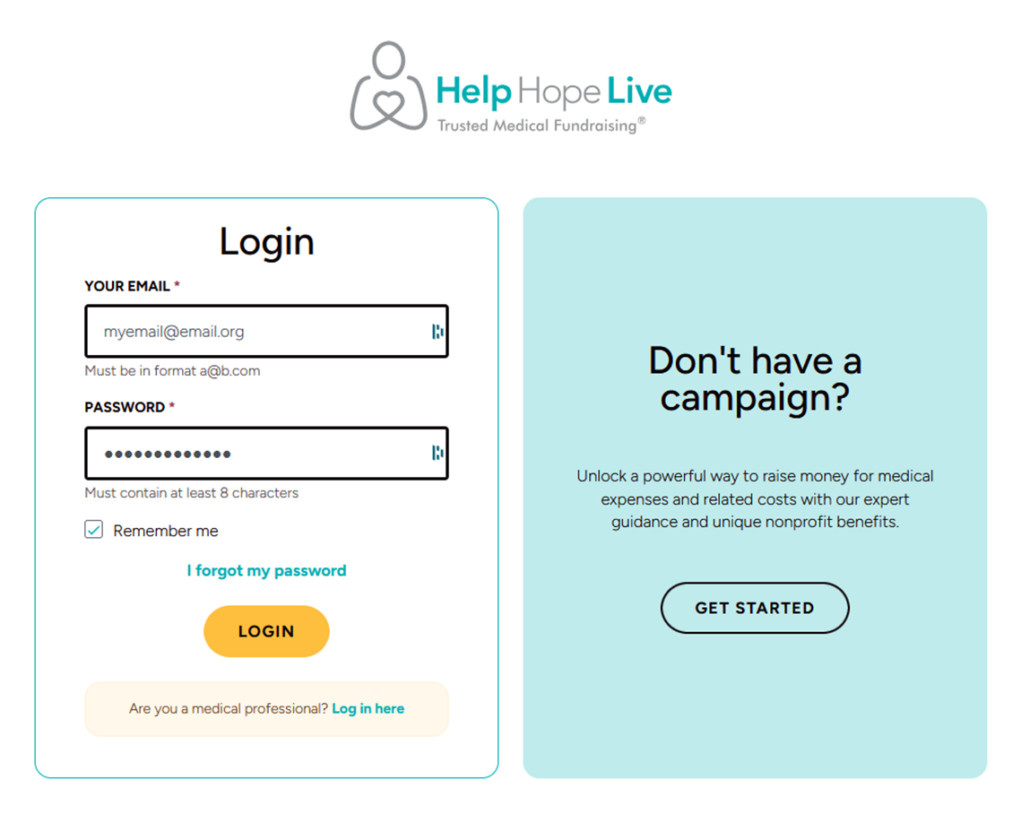
1. Log in.
Go to clients.helphopelive.org and log in with your email address and password:
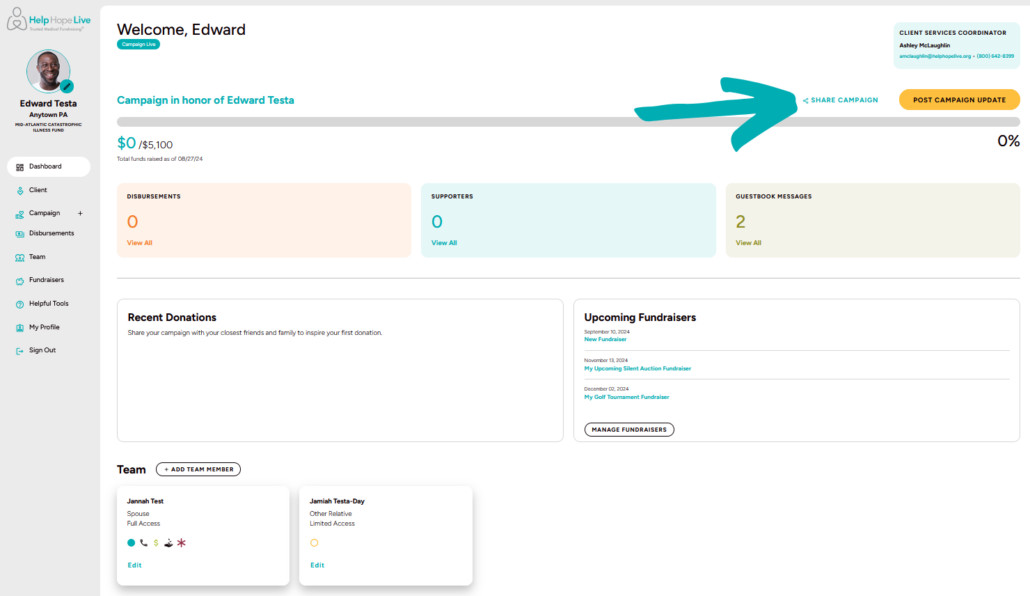
2. Visit your Dashboard.
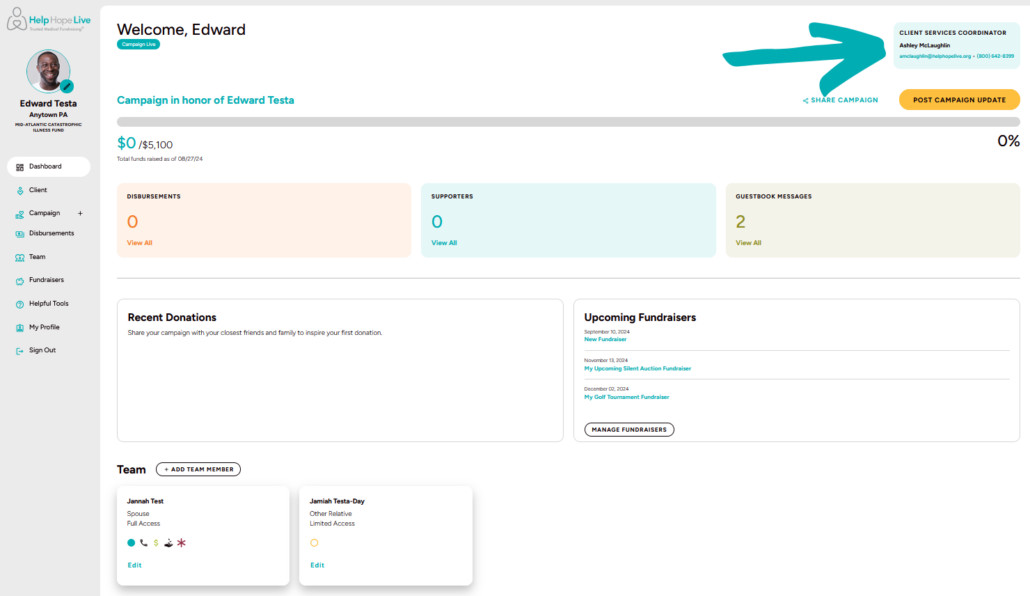
Once you’re logged in, you’ll see your Campaign Dashboard:
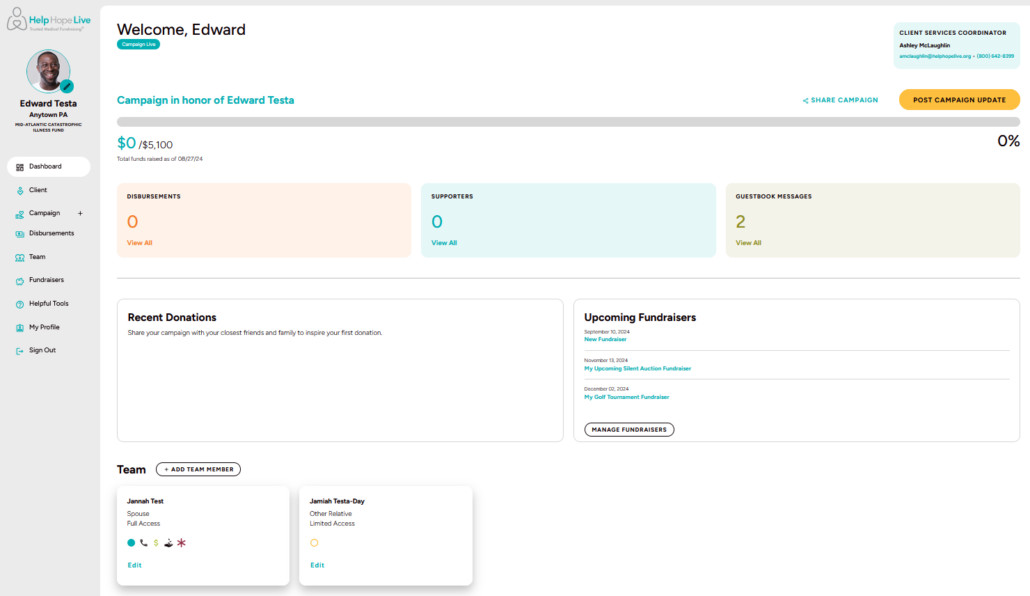
Your Dashboard will show you the latest updates from your campaign, including funds raised in your honor, recent donations, disbursements, upcoming fundraisers you’re planning, and more.
You’ll also see any important messages or updates from Help Hope Live at the top of your Dashboard.
3. Find contact info for your Client Services Coordinator at the top-right of your Dashboard:
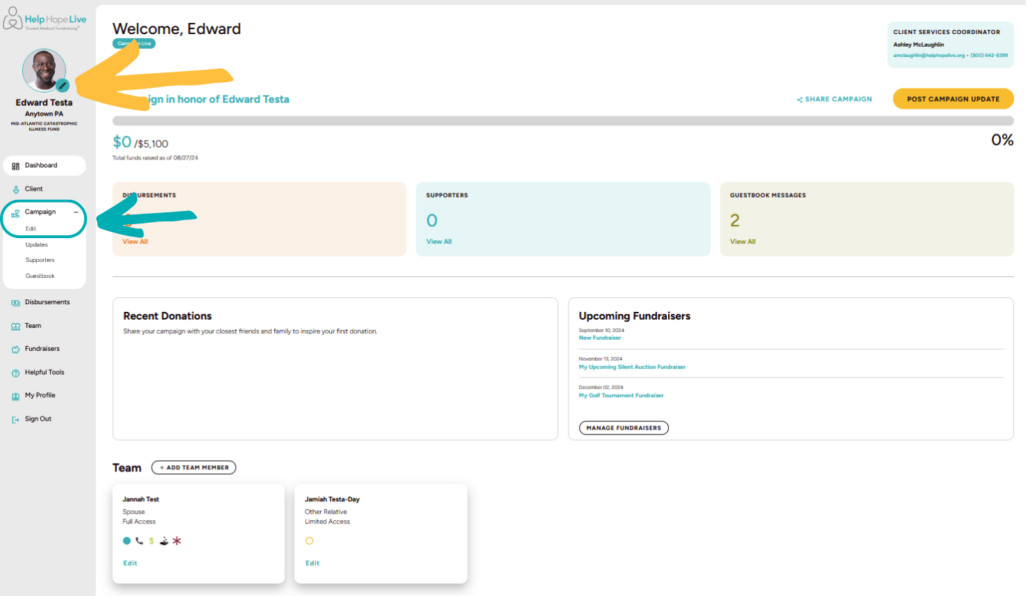
4. Edit your Campaign Page.
Click the pencil icon at the top-left of your screen or use Campaign/Edit to start customizing your Campaign Page:
Next, you can:
- Upload a profile picture that will display on your Campaign Page.
- Set a fundraising goal and choose whether to display the goal on your Campaign Page.
- Enter a campaign title—a headline to get visitors interested in your campaign.
- Customize your Campaign Story. We’ve included information about fundraising with Help Hope Live for you. Customize the rest of your story the way you want to—use our Campaign Story Worksheet to get started.

5. Add Image Galleries.
You can add image galleries to help visitors get to know you and your campaign plus showcase updates, milestones, and fundraisers.
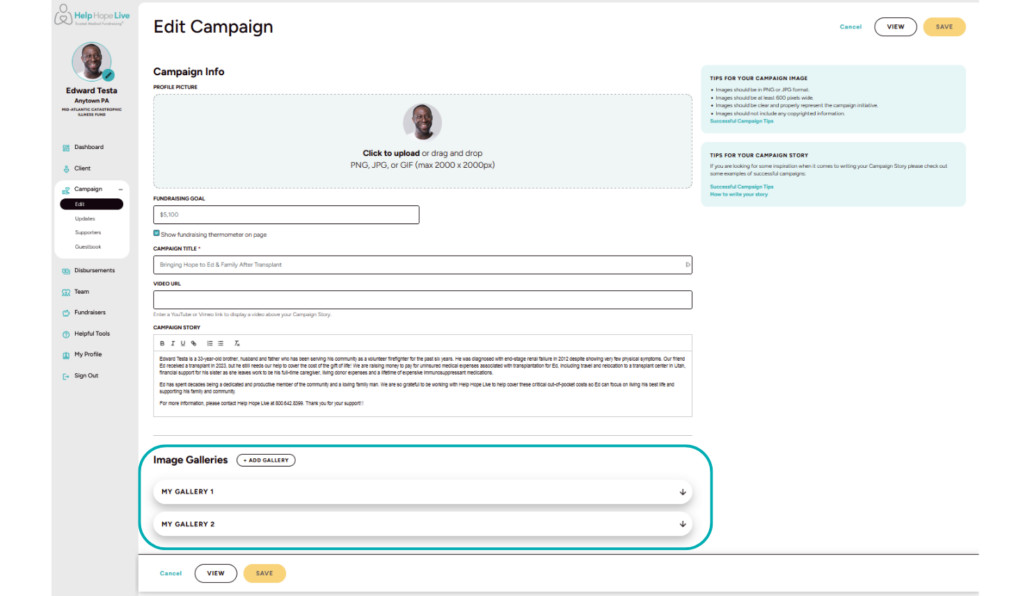
To get there:
- From Campaign/Edit, scroll down to Image Galleries.
- Click Add Gallery to name your first gallery.
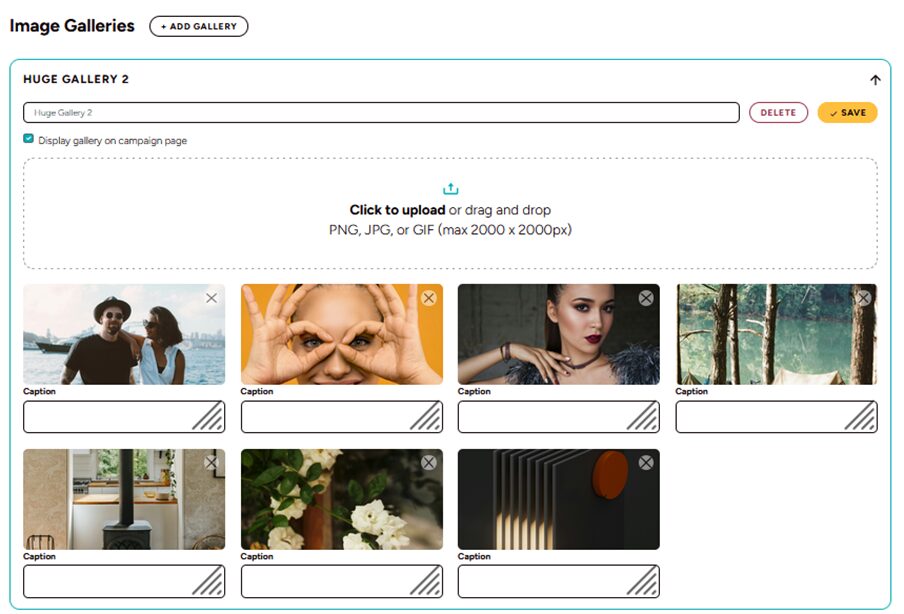
- Click the arrow next to the name of the gallery, then click Edit Gallery.
- Choose whether to display your gallery on your Campaign Page.
- Upload photos, add captions, and save.
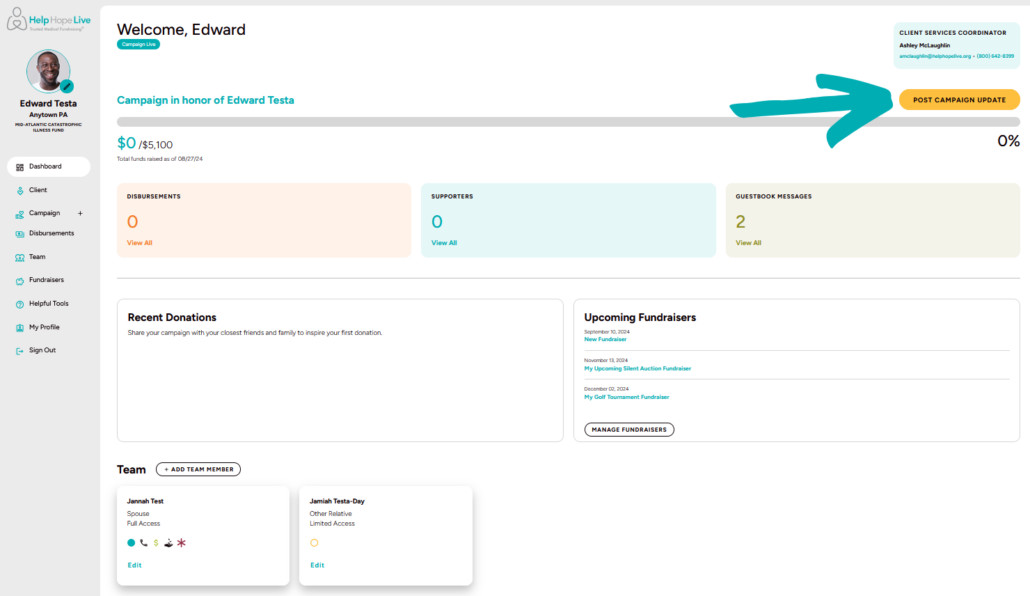
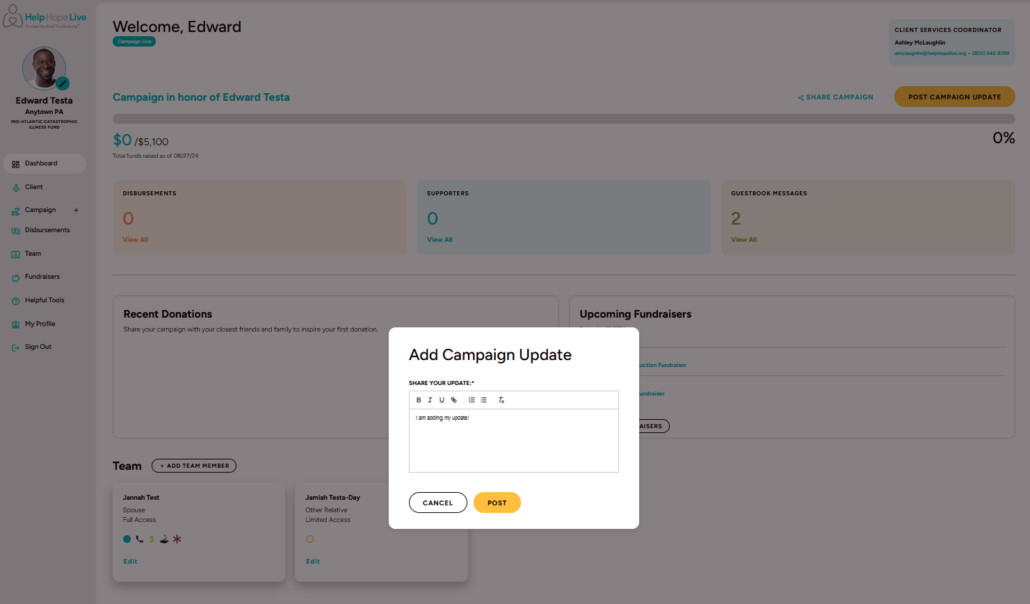
6. Post an update.
From your Dashboard, click Post Campaign Update:
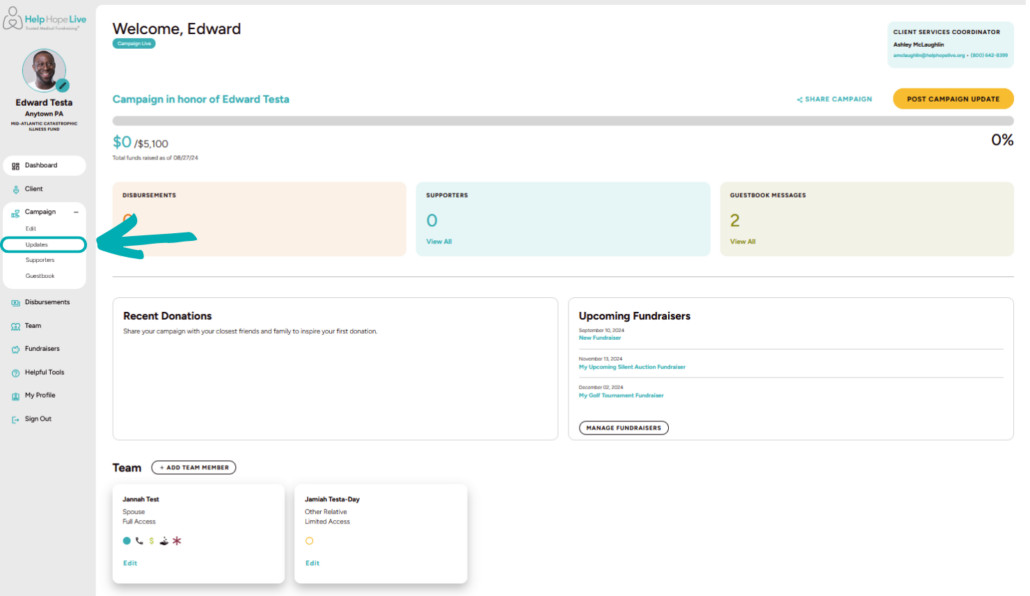
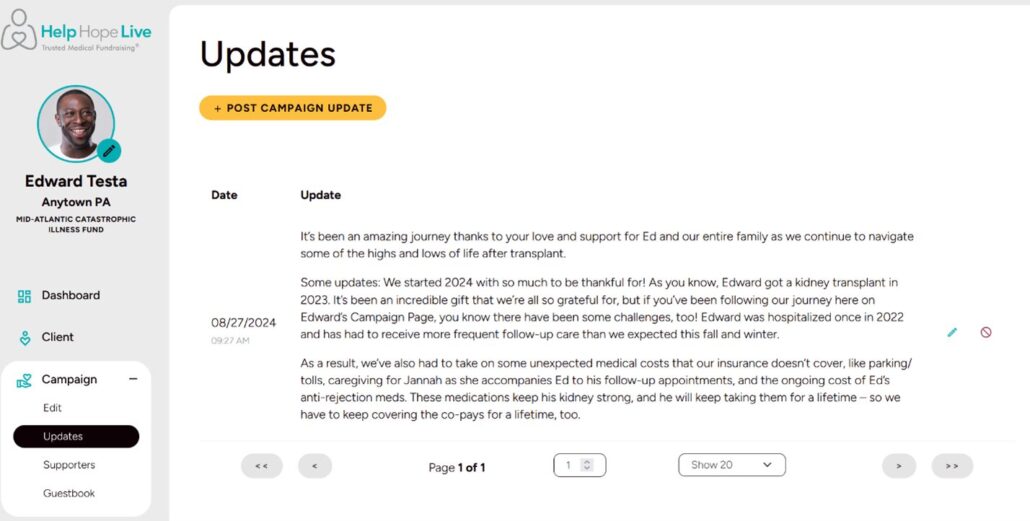
You can see and edit all your updates under Campaign/Updates:
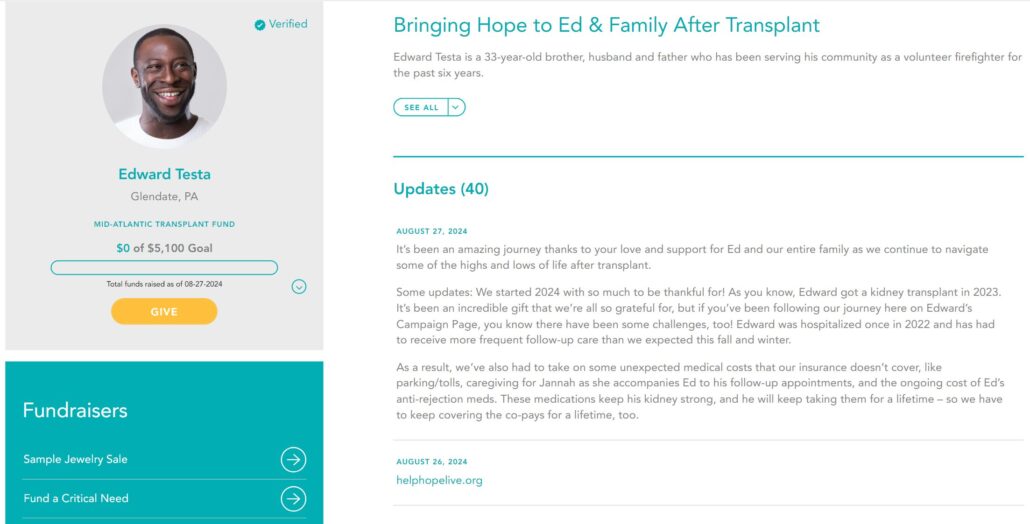
7. View your Campaign Page.
See how your Campaign Page looks to visitors: go to Campaign/Edit and click View.
You’ll also see a View option at the bottom of any Edit/Campaign screen:

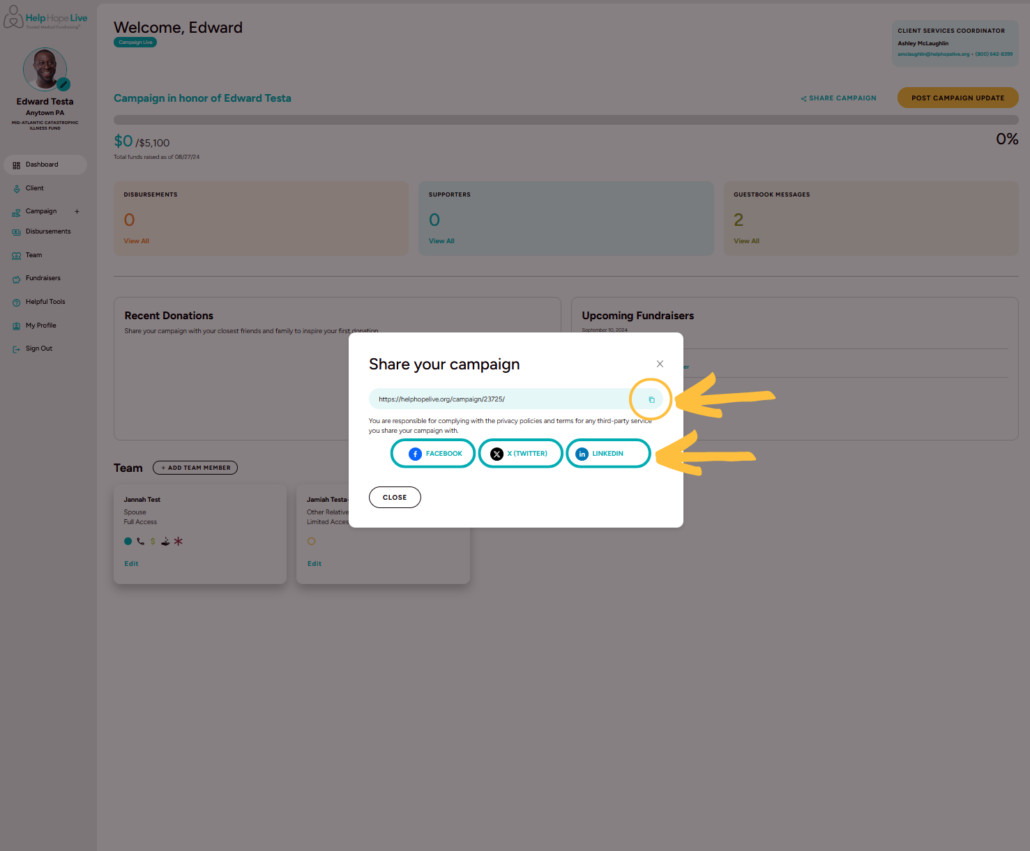
8. Share your Campaign Page.
- Once you’ve customized your Campaign Page, you’re ready to spread the word!
Go to your Dashboard, then click Share Campaign:
You can copy your Campaign Page link or click to share to Facebook, X (Twitter), or LinkedIn.
Use our guides to share on Instagram or TikTok. Find additional social sharing guides and tips here.
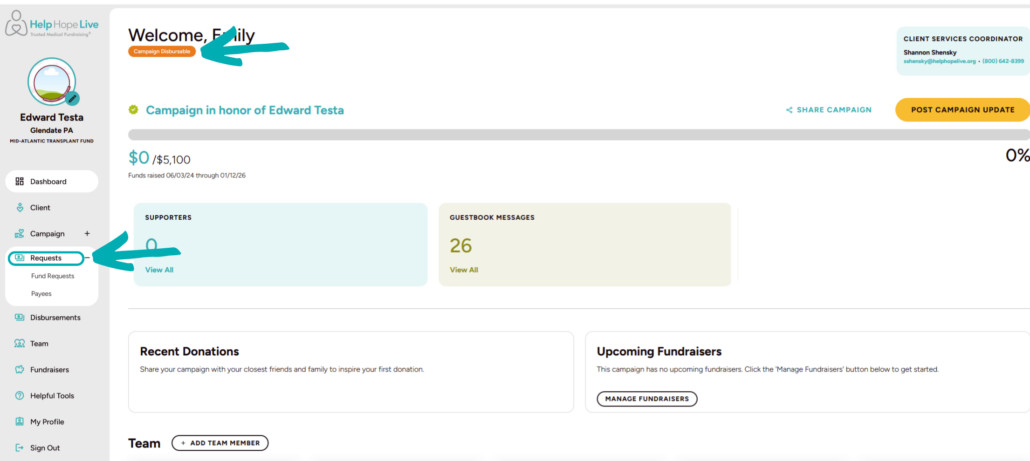
9. Submit a fund request and access the Fund Request Portal (Disbursable campaigns only).
Please note: the Fund Request Portal is only visible to Disbursable campaigns. That means you won’t see the following menu options until your campaign has been medically verified.
Use Requests to access the Fund Request Portal (click here for our complete guide). You can submit a fund request, track existing requests, and more:
10. Add team members.
Use Team to add team members to your campaign:
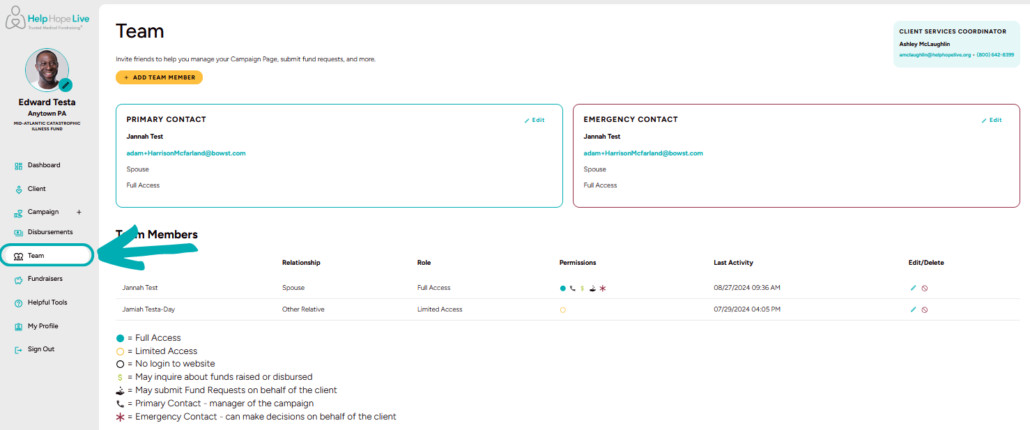
From here:
- Click the Add Team Member button to add a new team member.
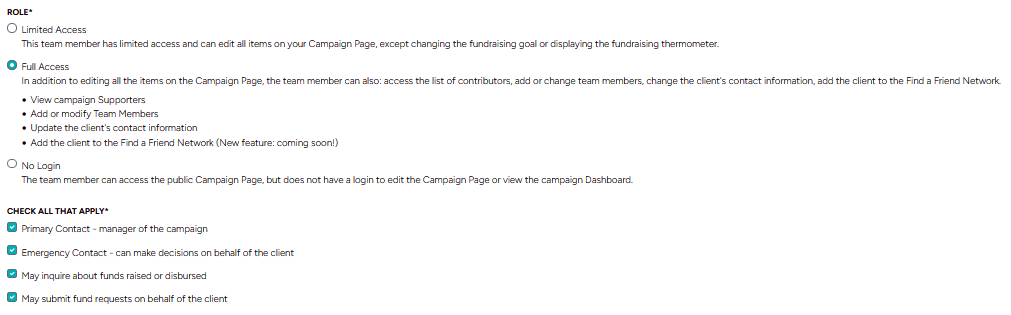
- Add contact information for each new team member. You control each team member’s role and permissions.
- You can choose to give team members access to the Dashboard and Campaign Page with their own email address and password.
- We’ll ask you to designate team members to become your Primary Contact or your Emergency Contact.
- You can also choose whether each team member can inquire about funds raised and disbursed or submit a fund request on your behalf.
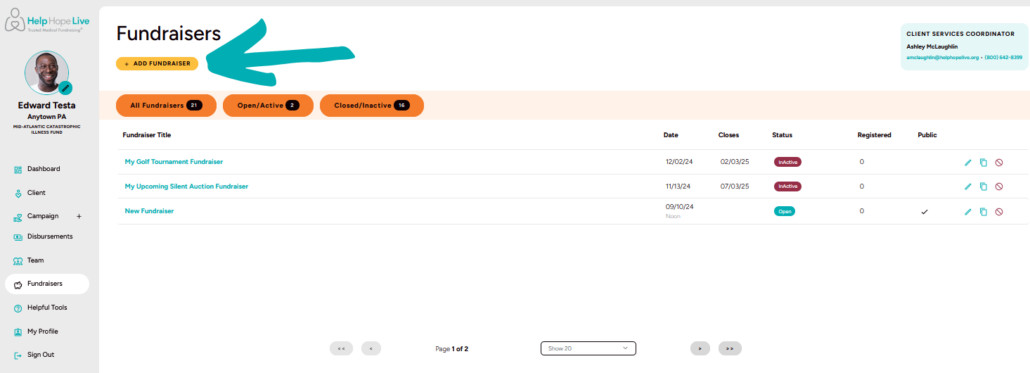
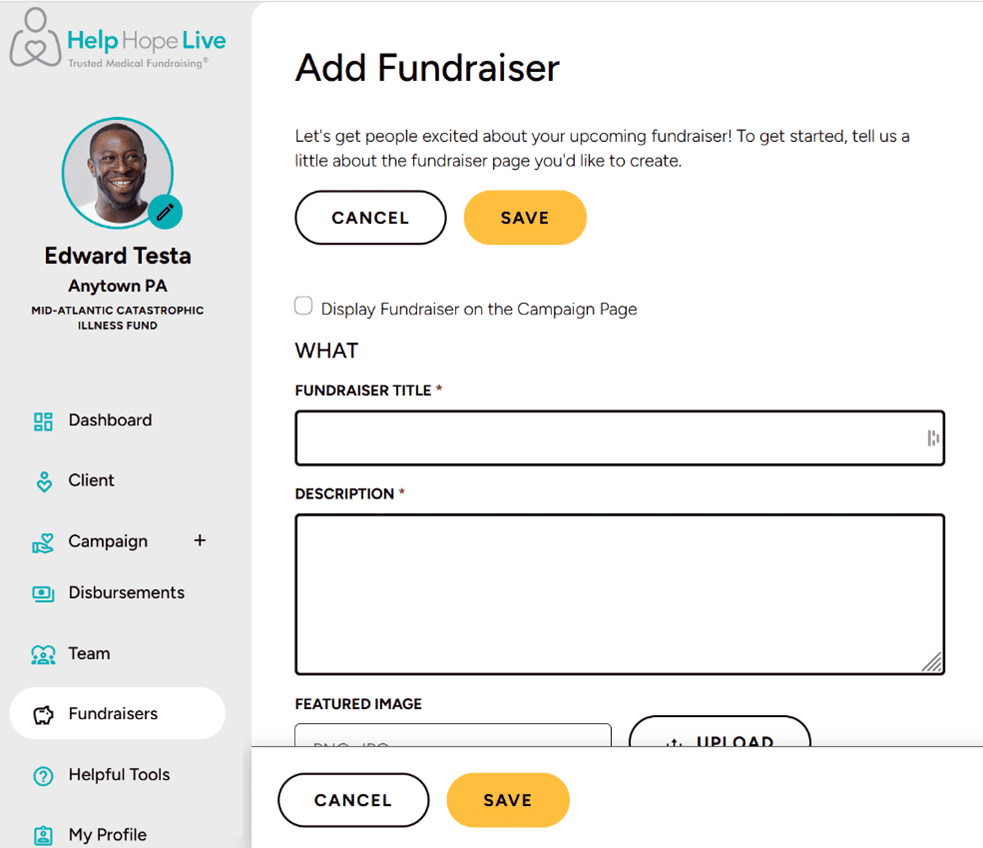
11. Add a fundraiser.
- Planning an online or in-person event with your Coordinator? Use the Fundraisers page to add upcoming fundraisers to your Campaign Page.
Click Add Fundraiser and customize your fundraiser page with details, images, dates, location information, and online registration options as needed:
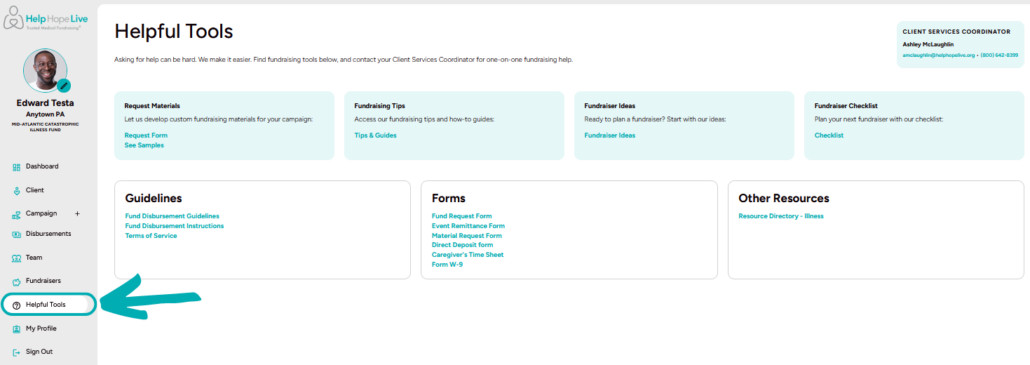
12. Access Helpful Tools.
You can find fundraising tools, forms, and guides on the Helpful Tools page, including fundraiser ideas, guidelines for disbursement, Fund Request Forms, and more:
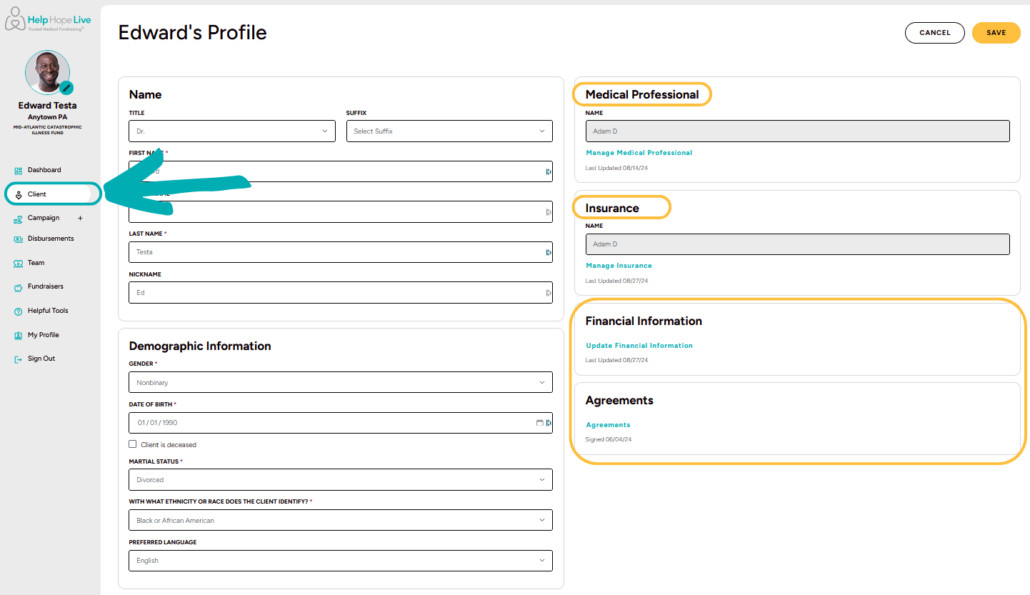
13. Edit your client profile.
View or make changes to your client profile under Client, including name and nickname, location or temporary address, email, phone number, preferred language, verifying medical professional, insurance information, financial information, and Agreements:
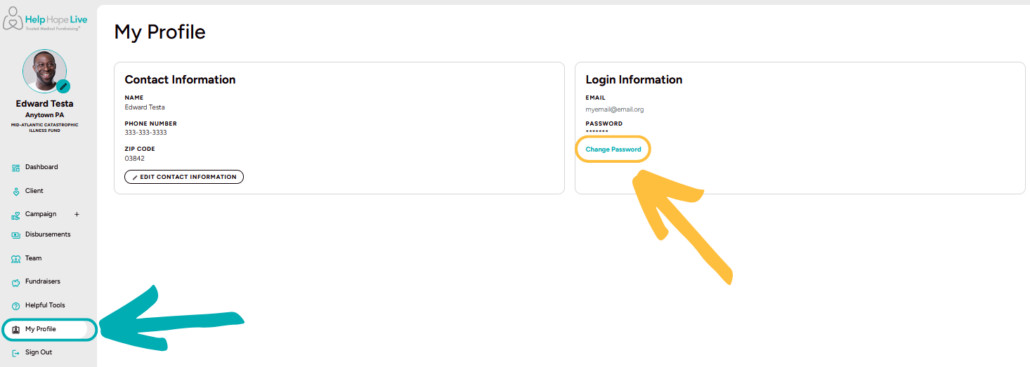
14. Change your password.
Use the My Profile option to change your password:
Get Support & Leave Feedback
Need technical help with our platform? Have feedback for us?
Click the red Help & Feedback tab while navigating our client portal. It looks like this:
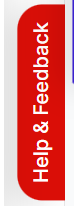
Your submission will automatically include info about the page you’re viewing and what browser and device you’re using to connect so we can help you efficiently.
Let’s Fundraise Together!
Let your Coordinator know how our team can support your fundraising efforts and help you customize your Campaign Page.
You can always find contact information for your Coordinator on your Dashboard.